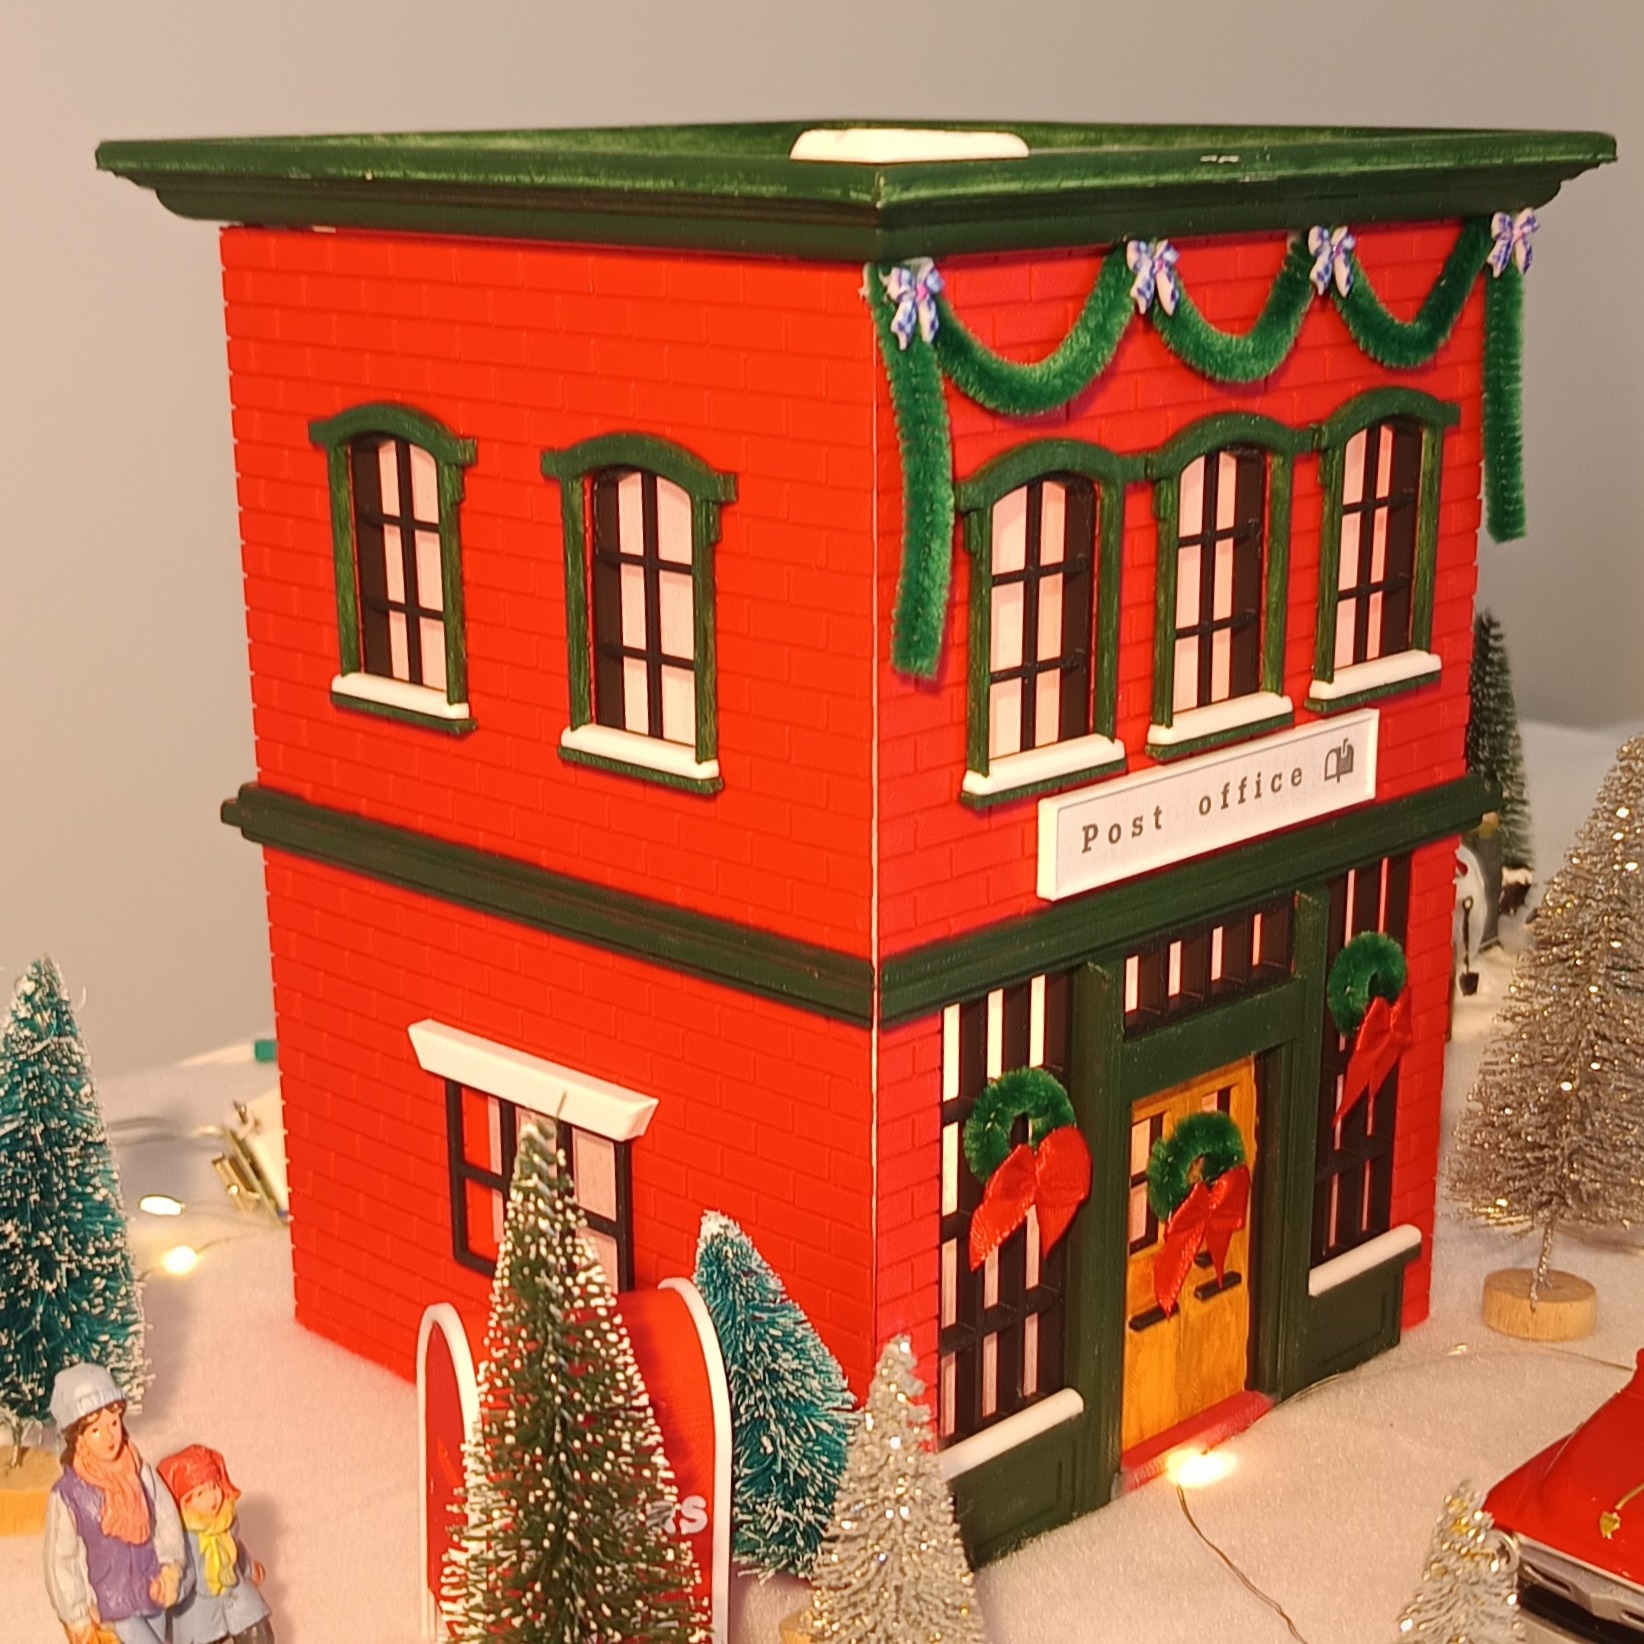
Post Office
Assembly Guide & Details
Distinct Parts
21
Difficulty
Intermediate
Print Time
<13 hours
Price
€4.99
📸 Photo Gallery
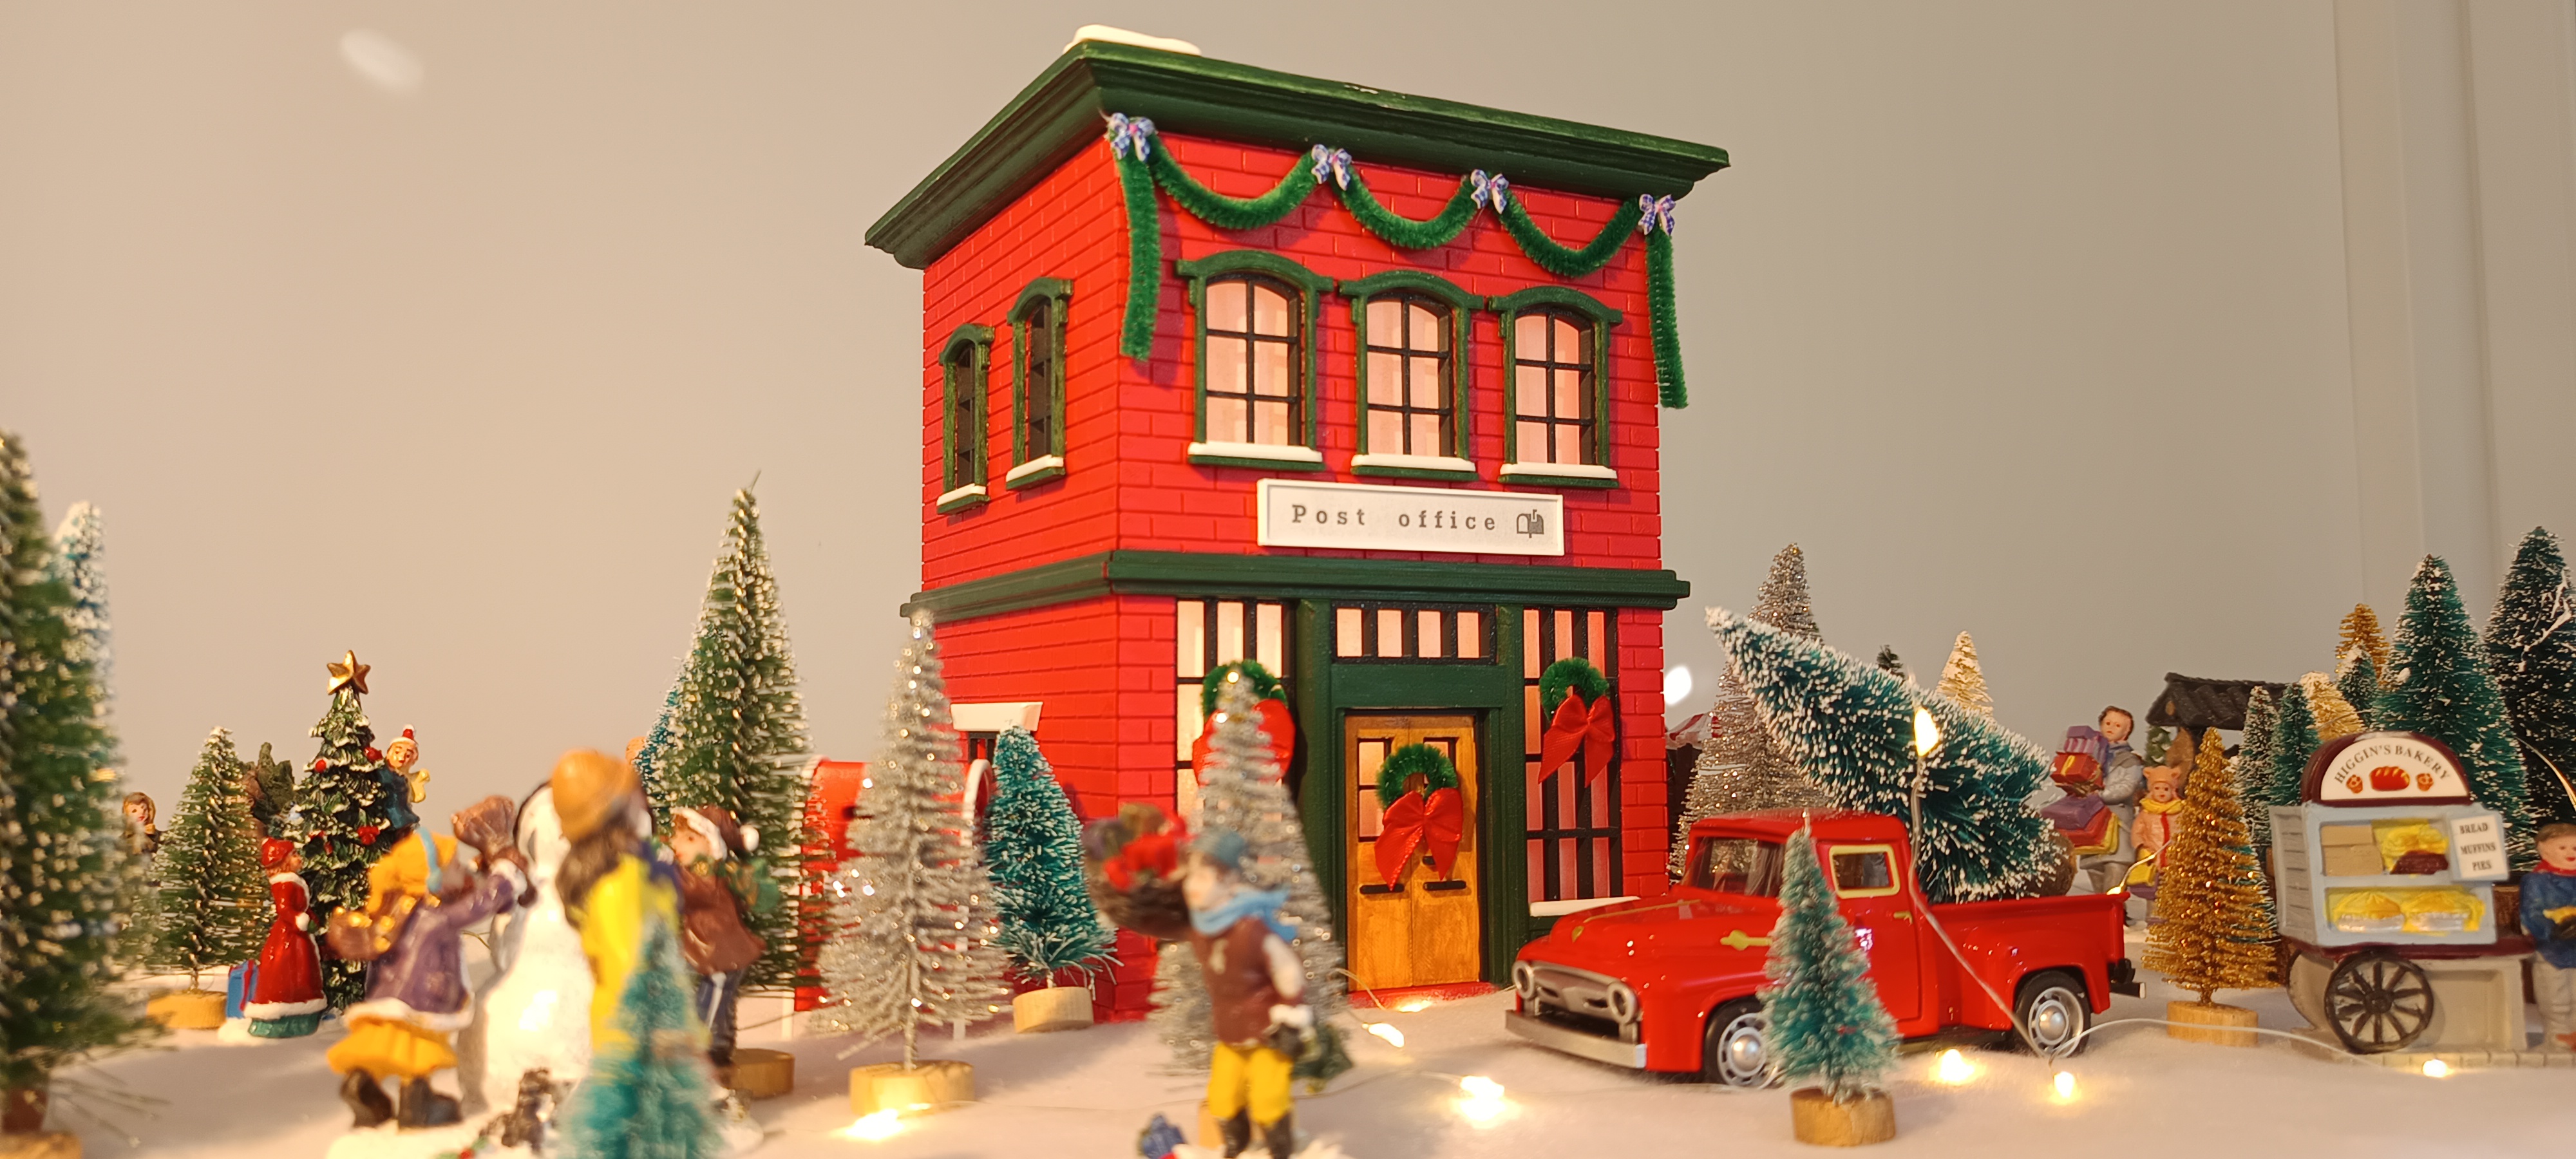
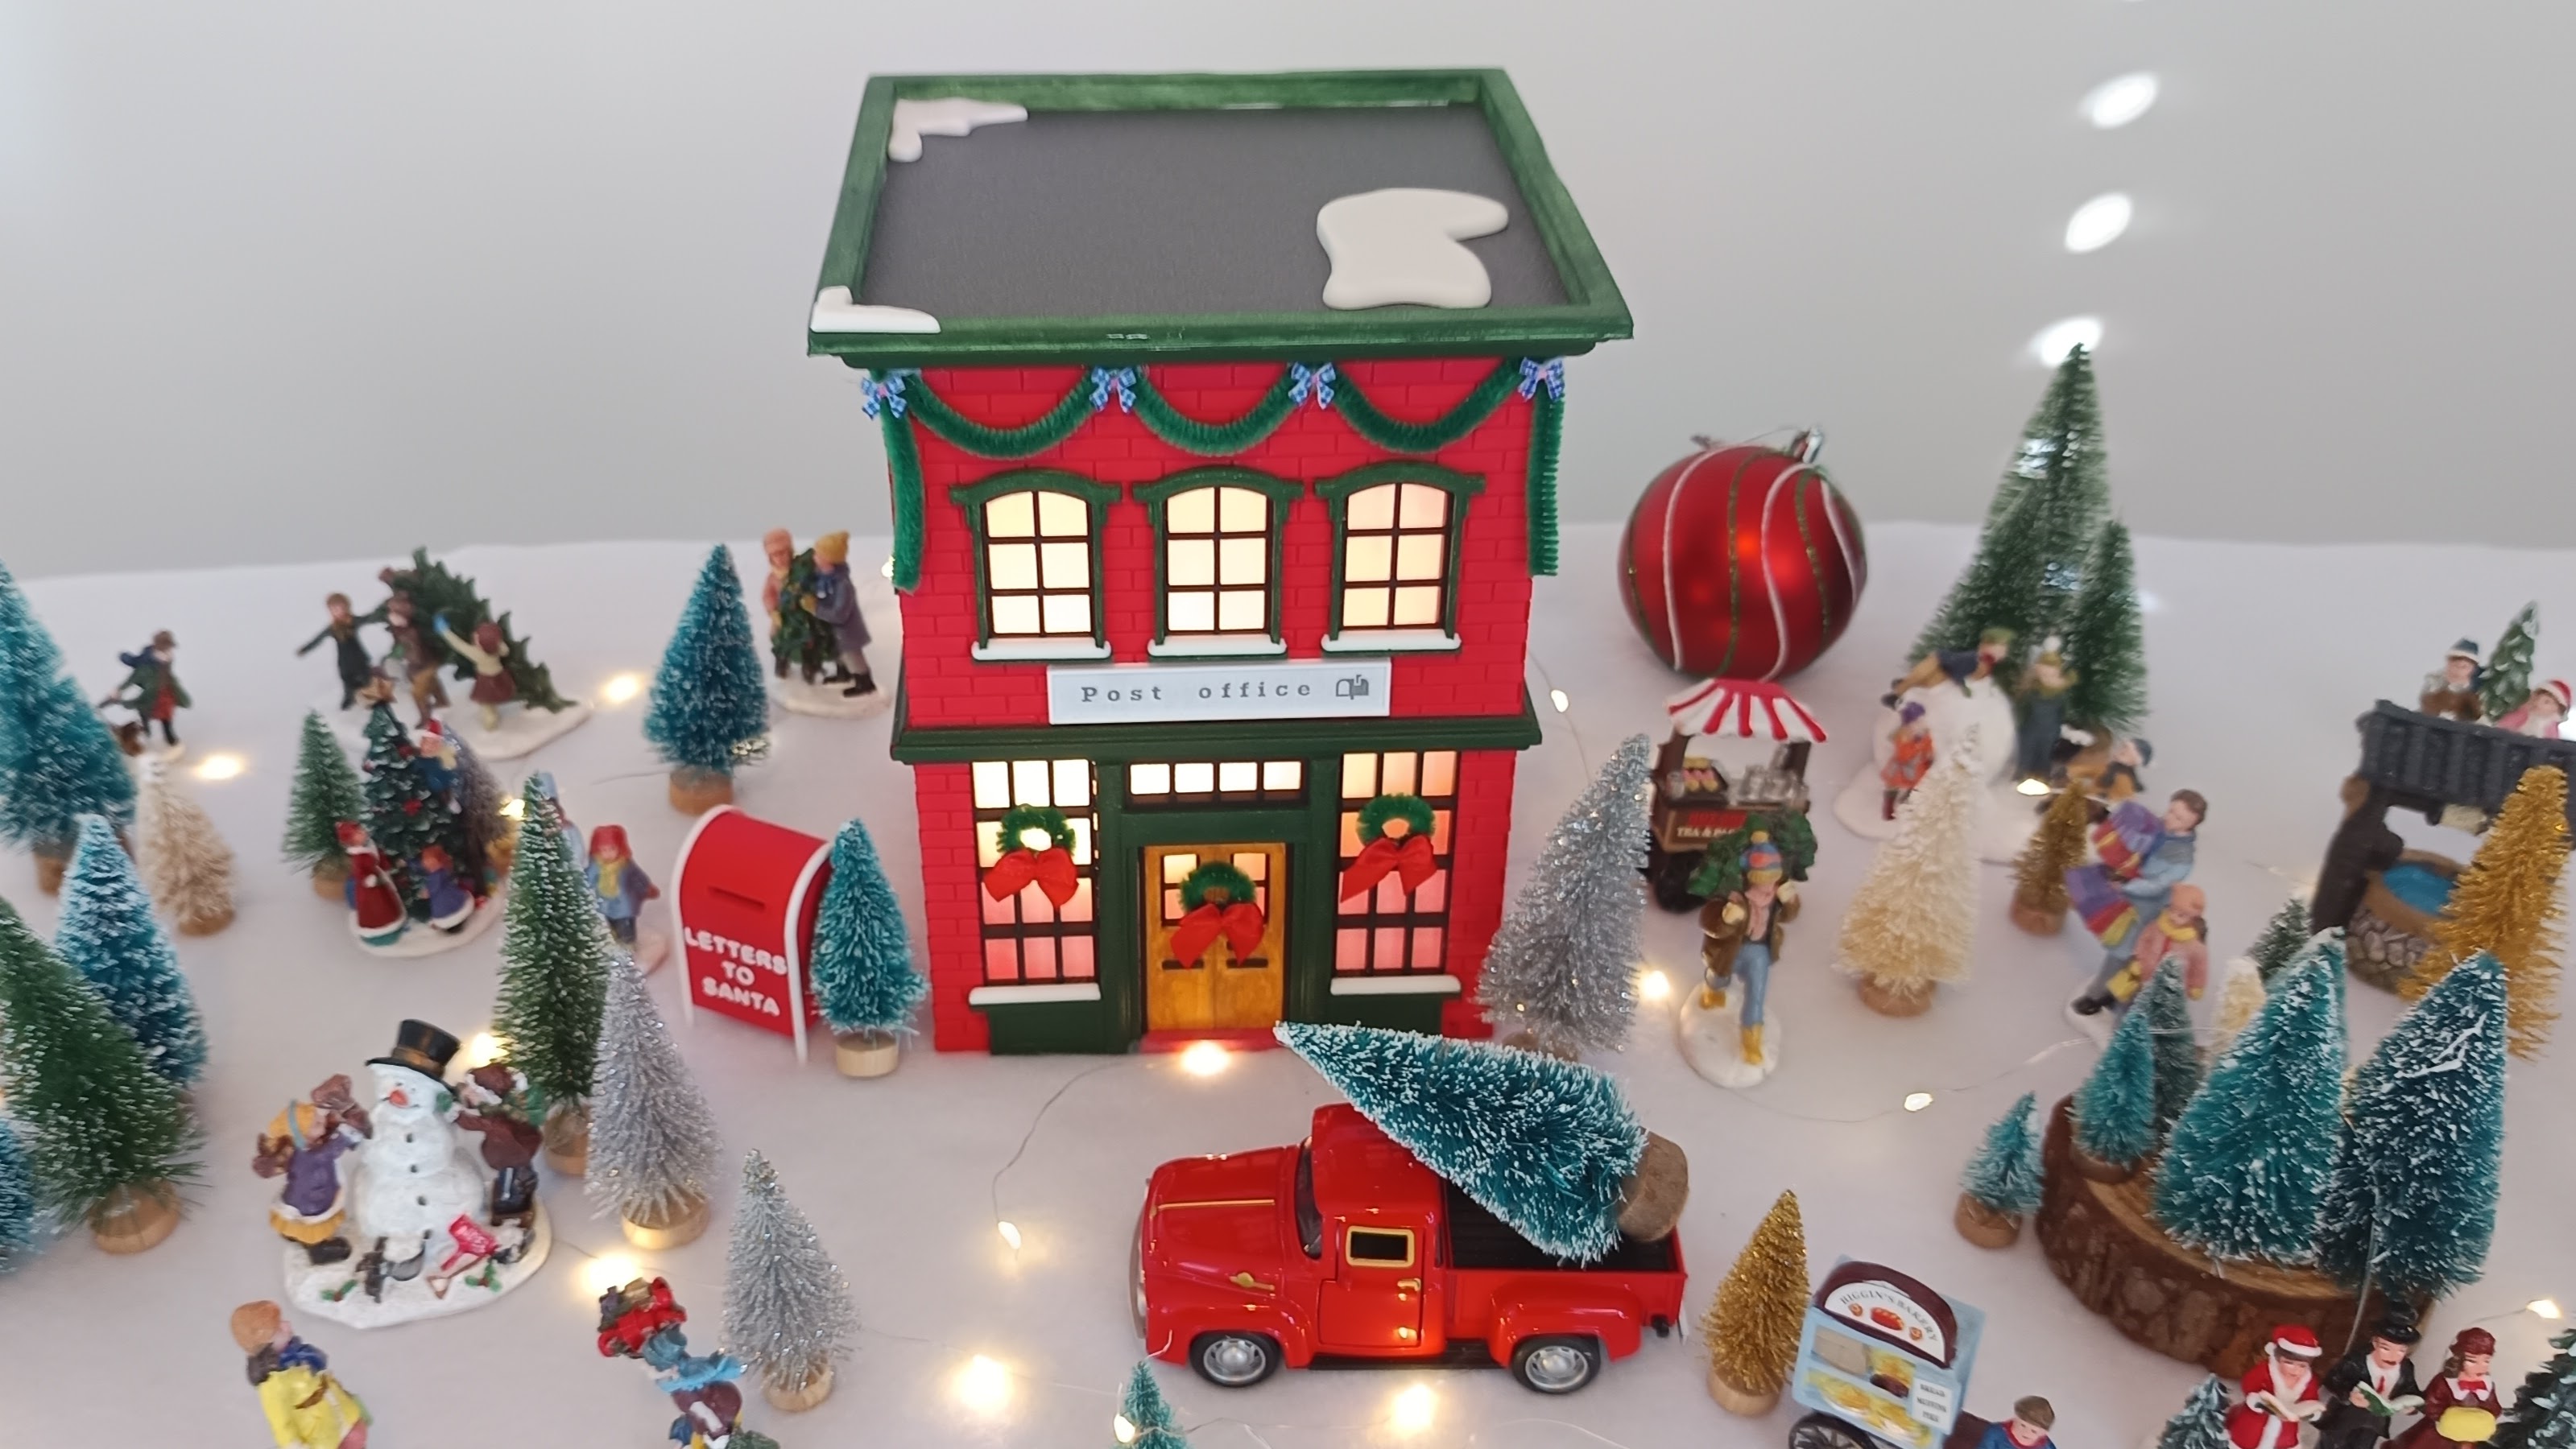
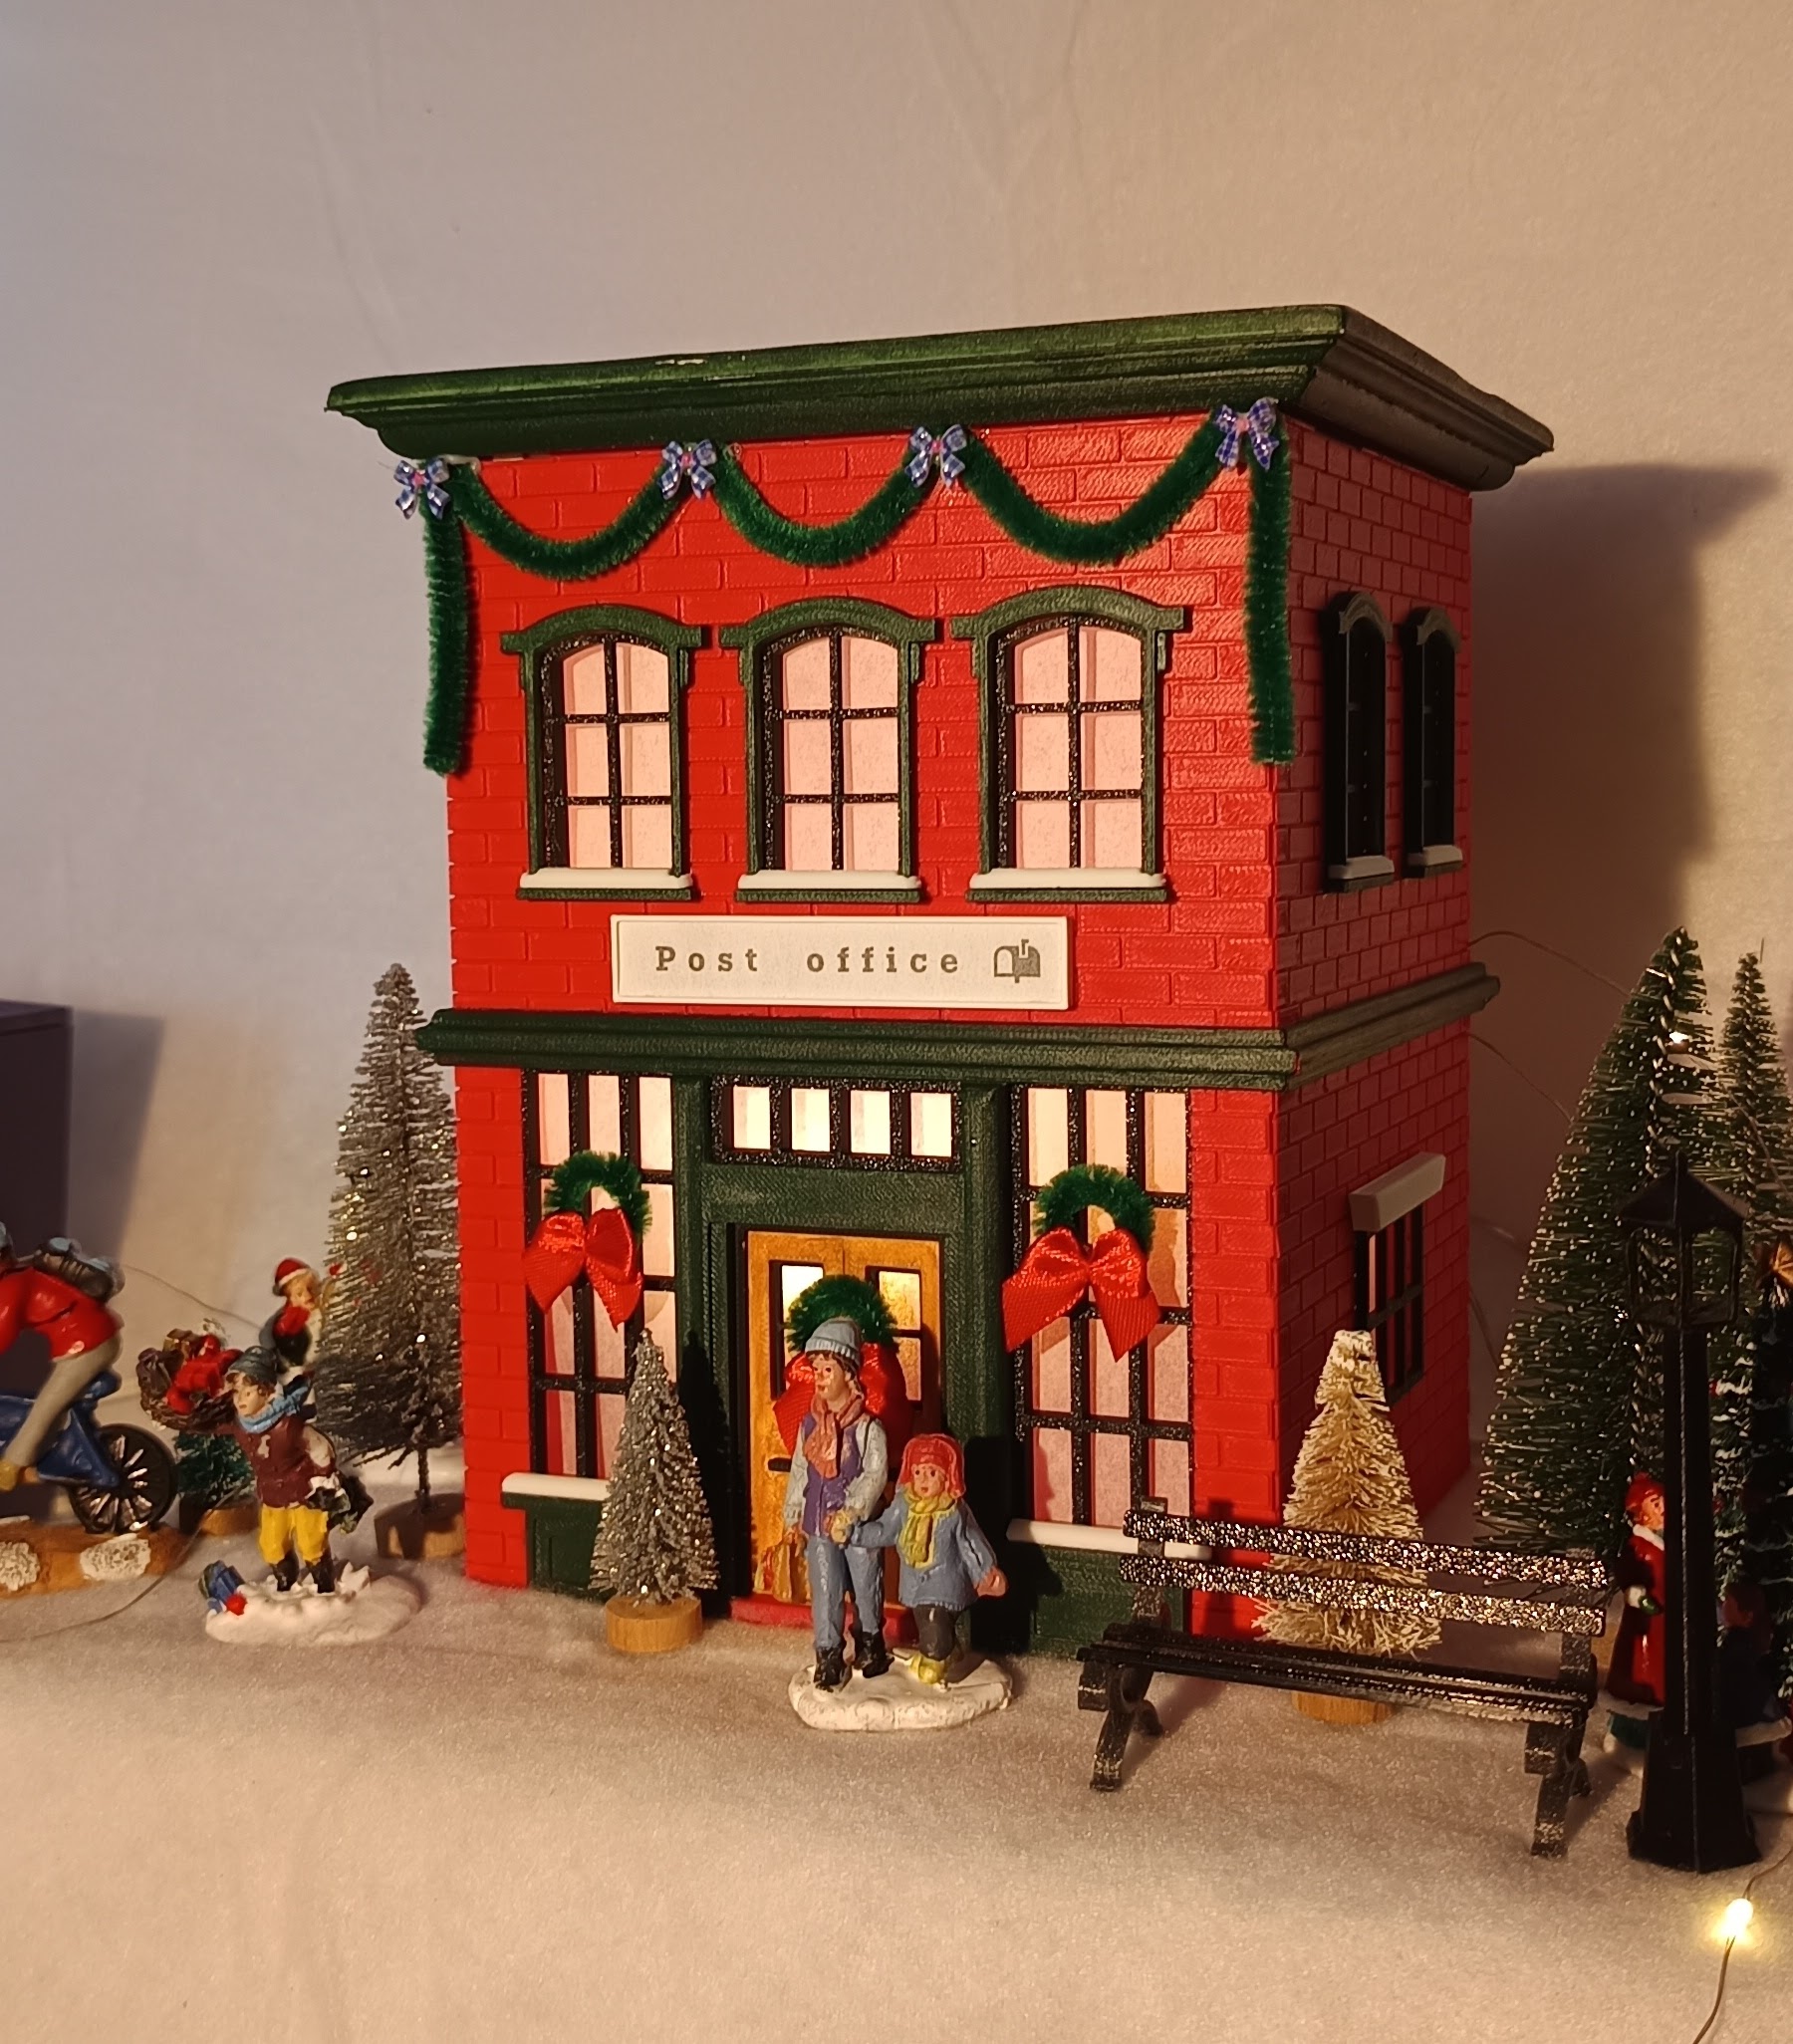
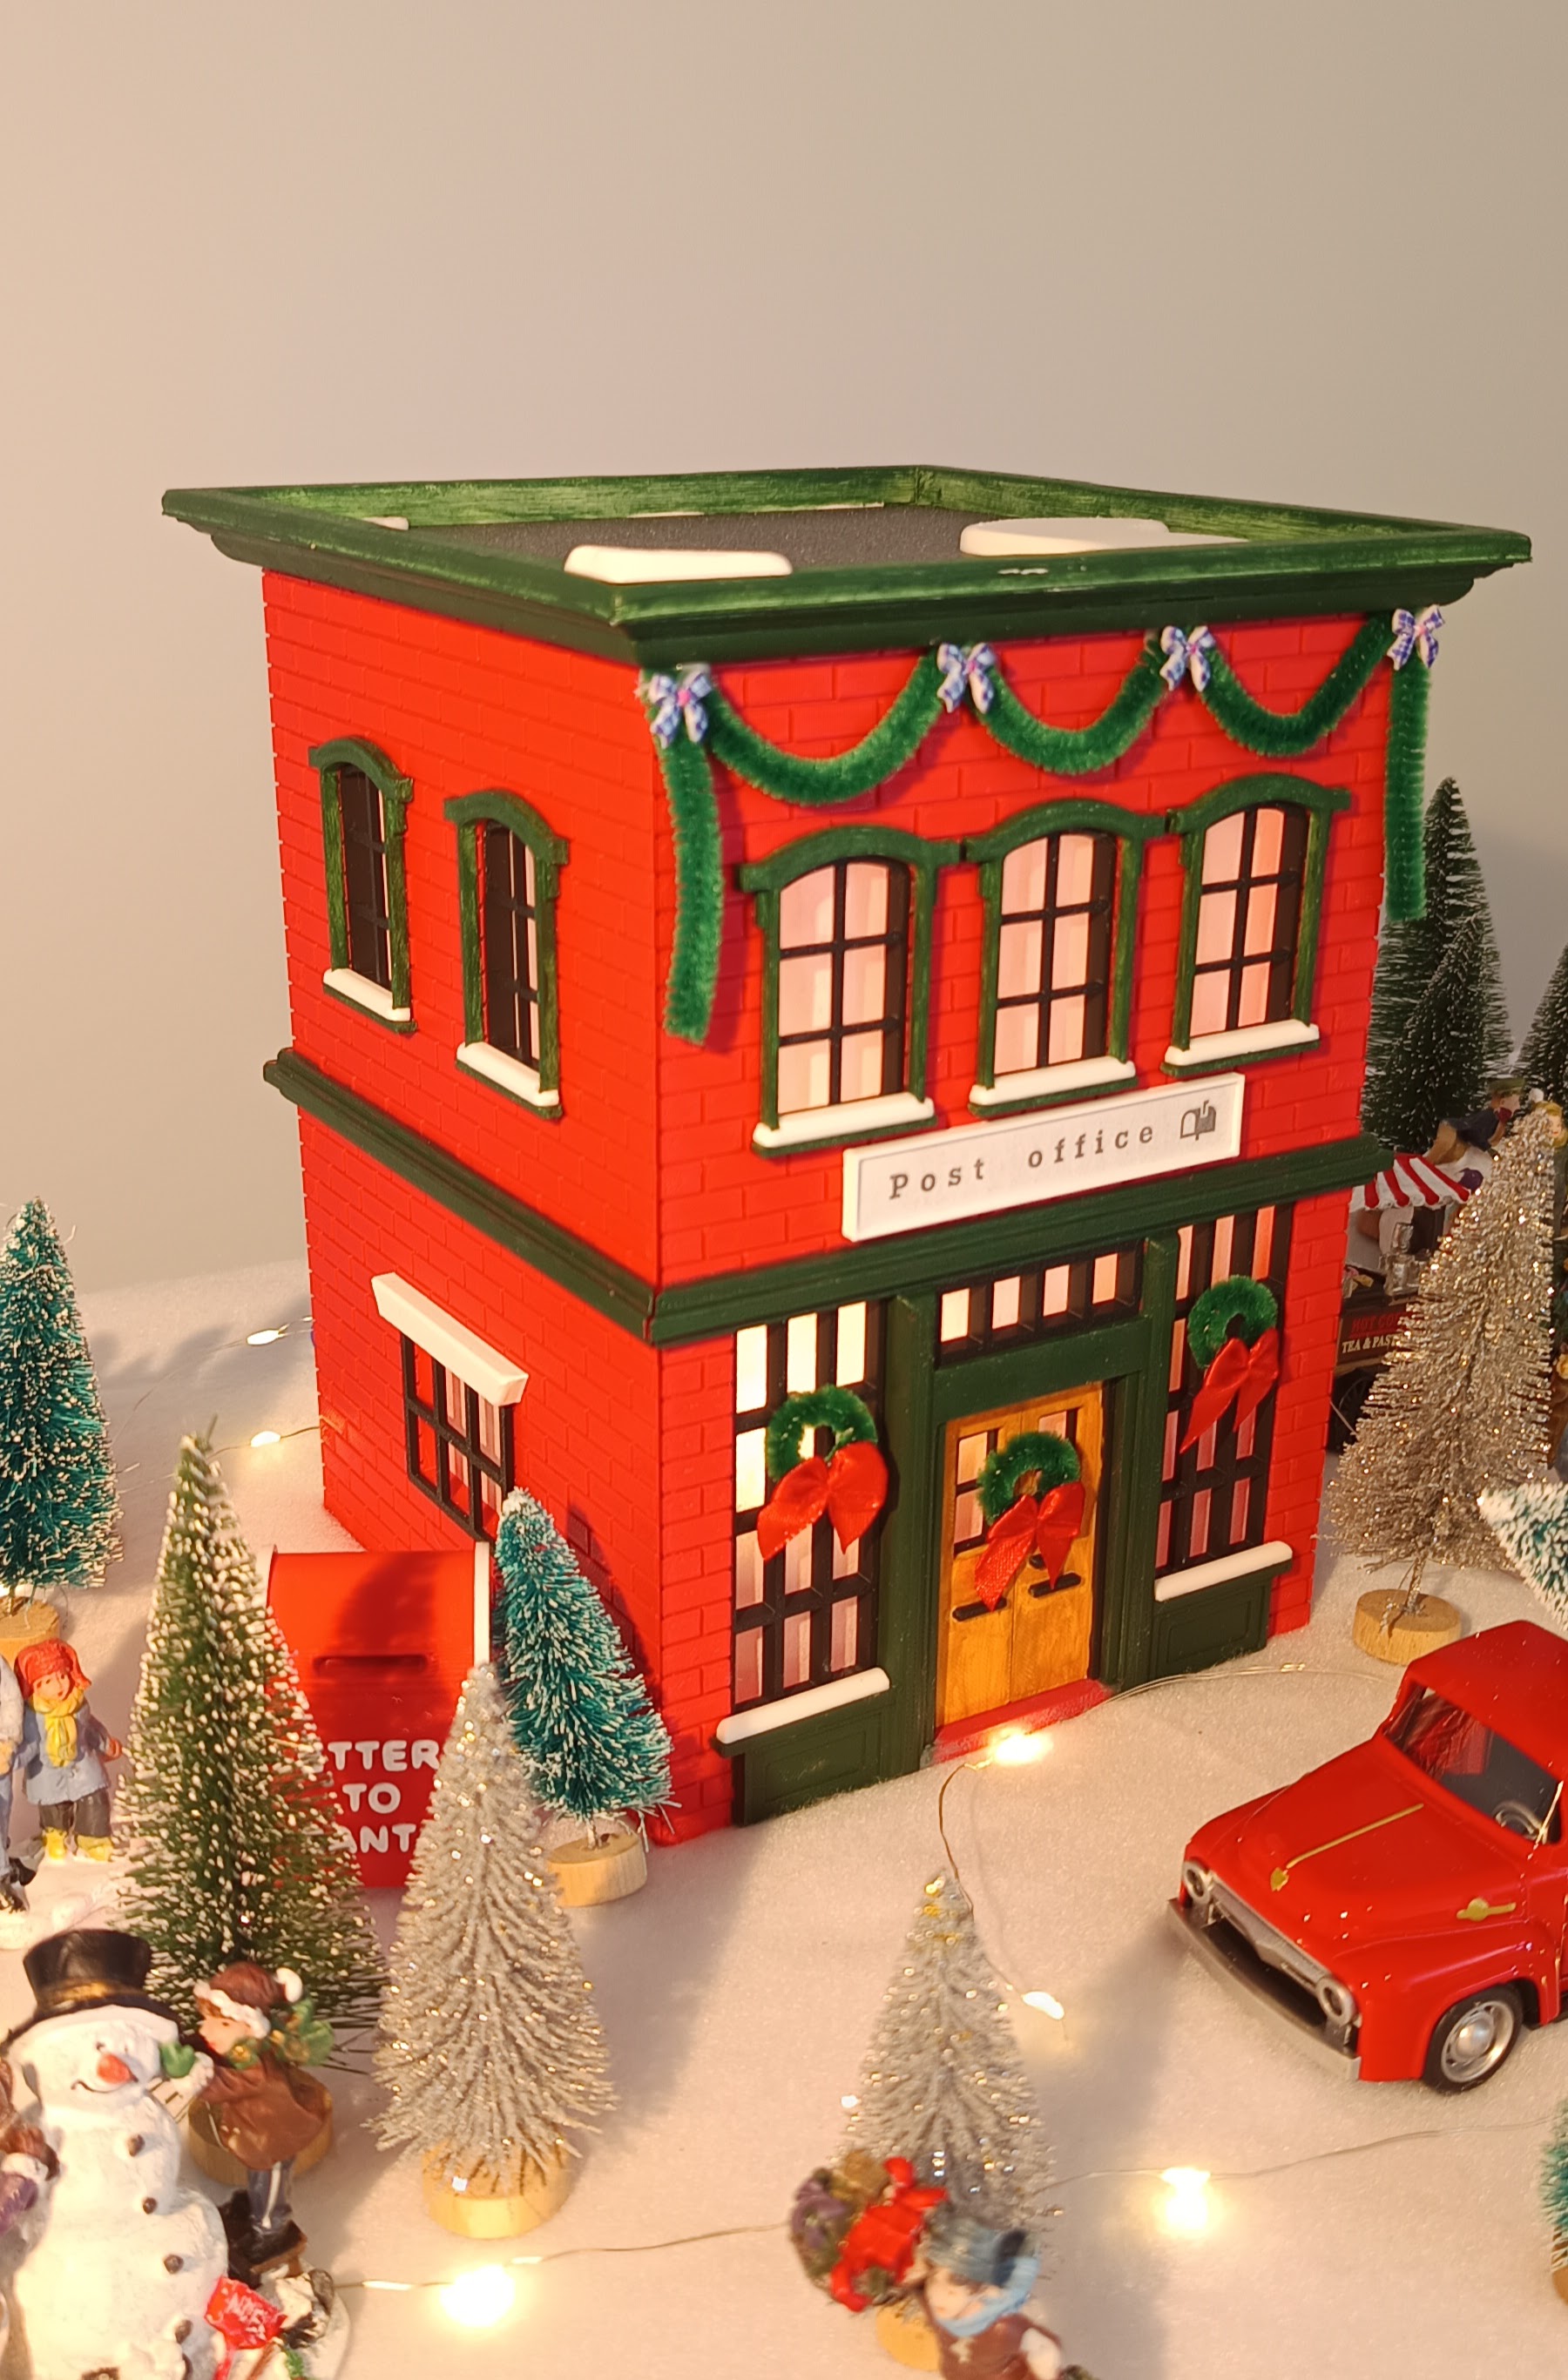
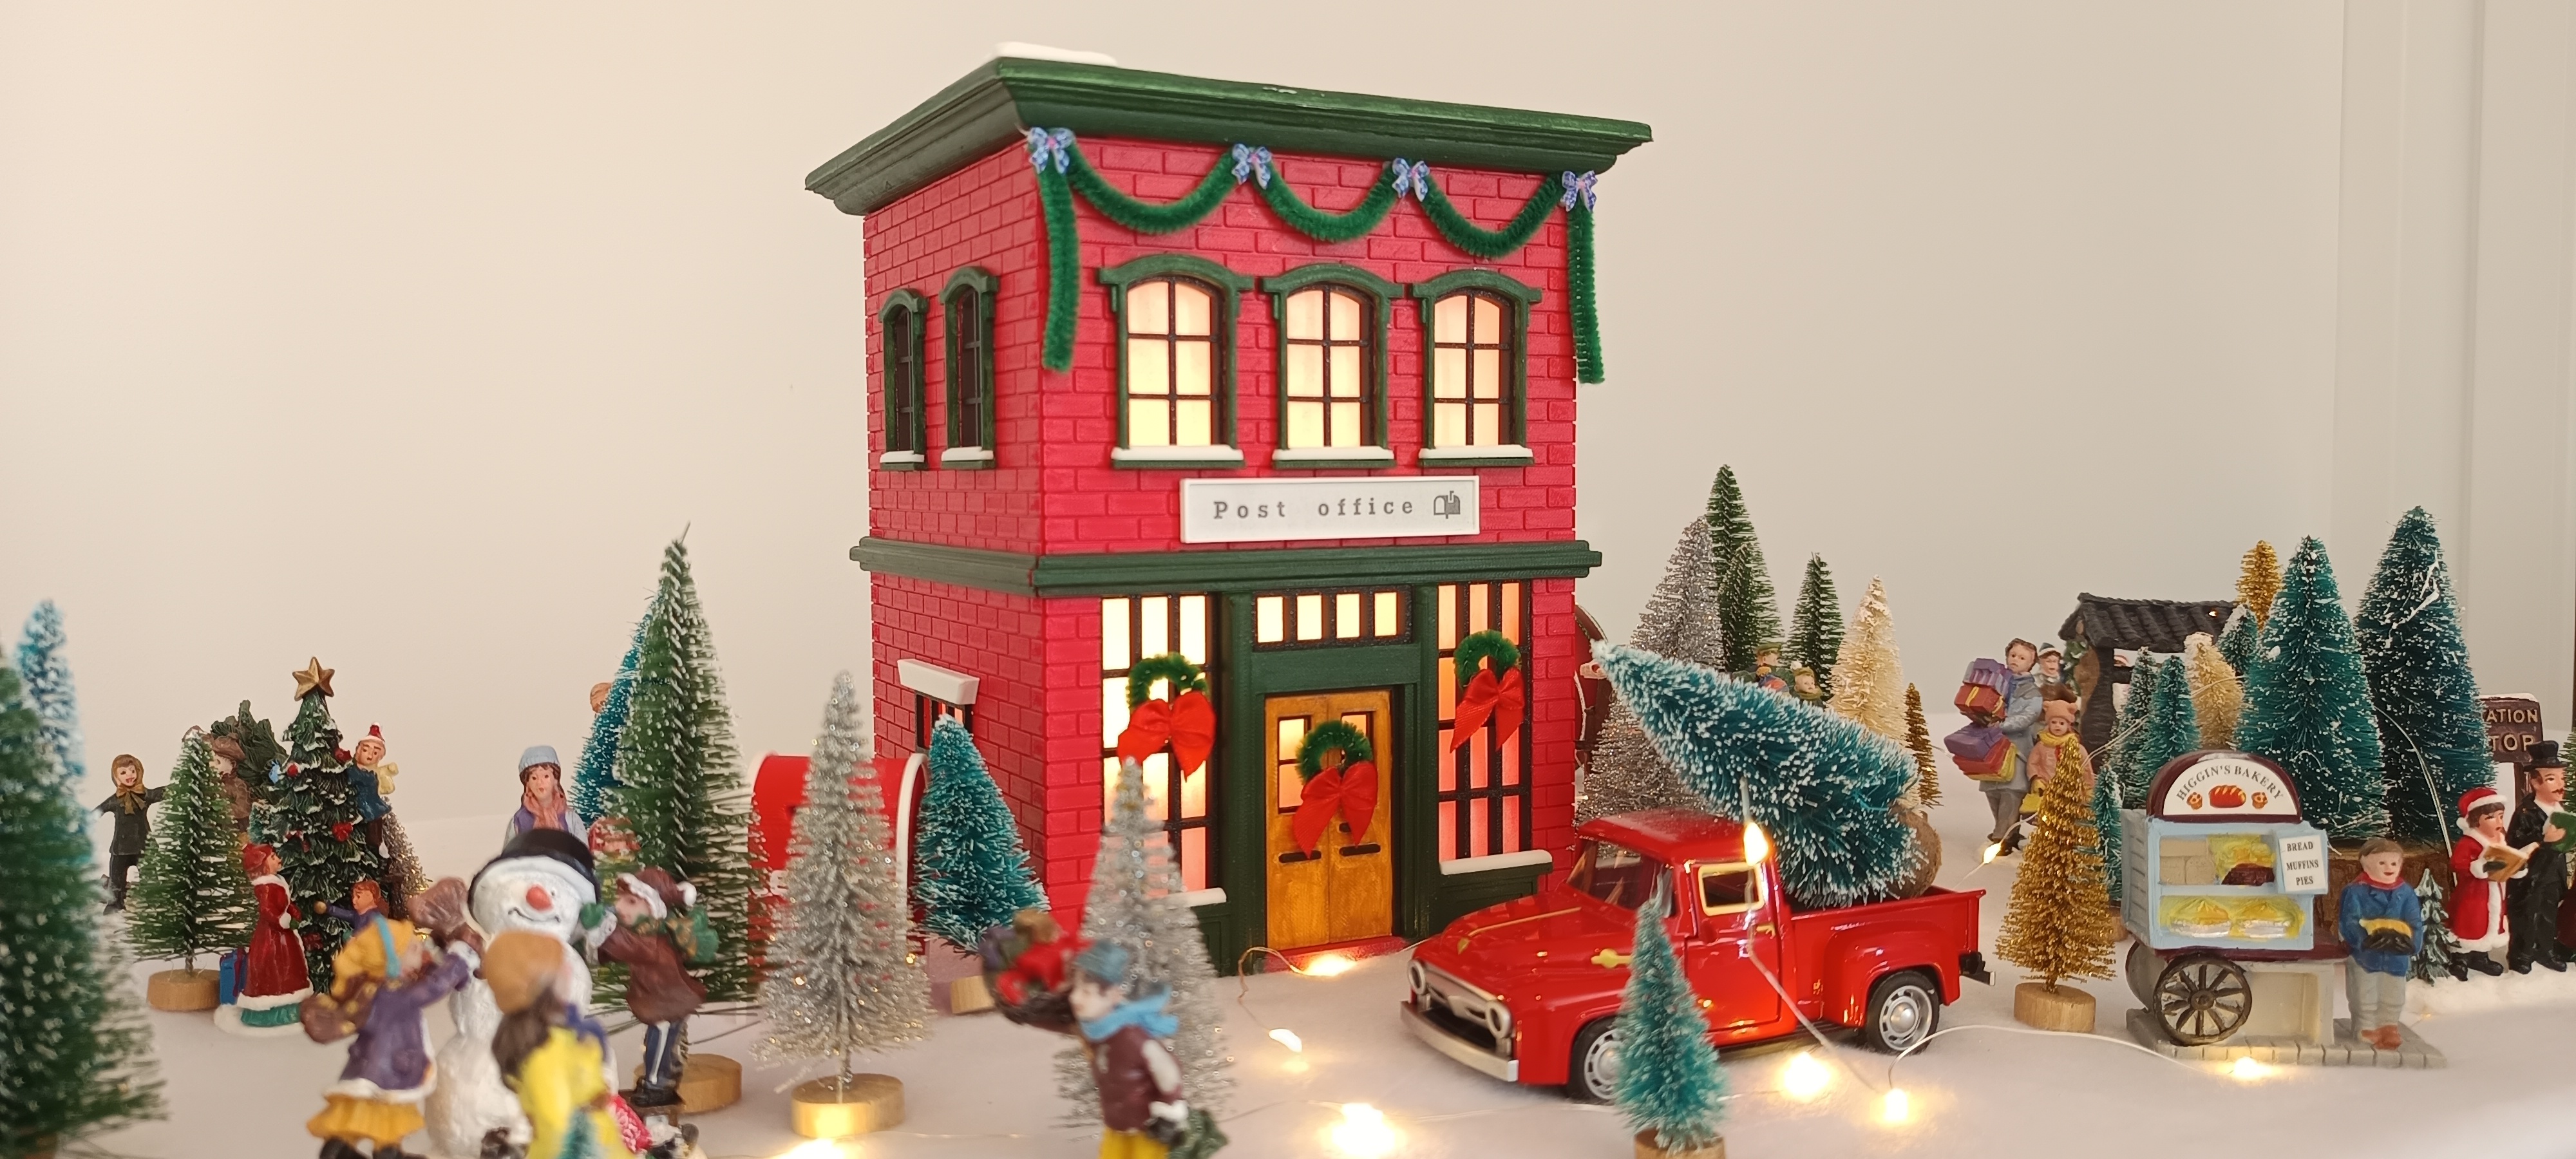
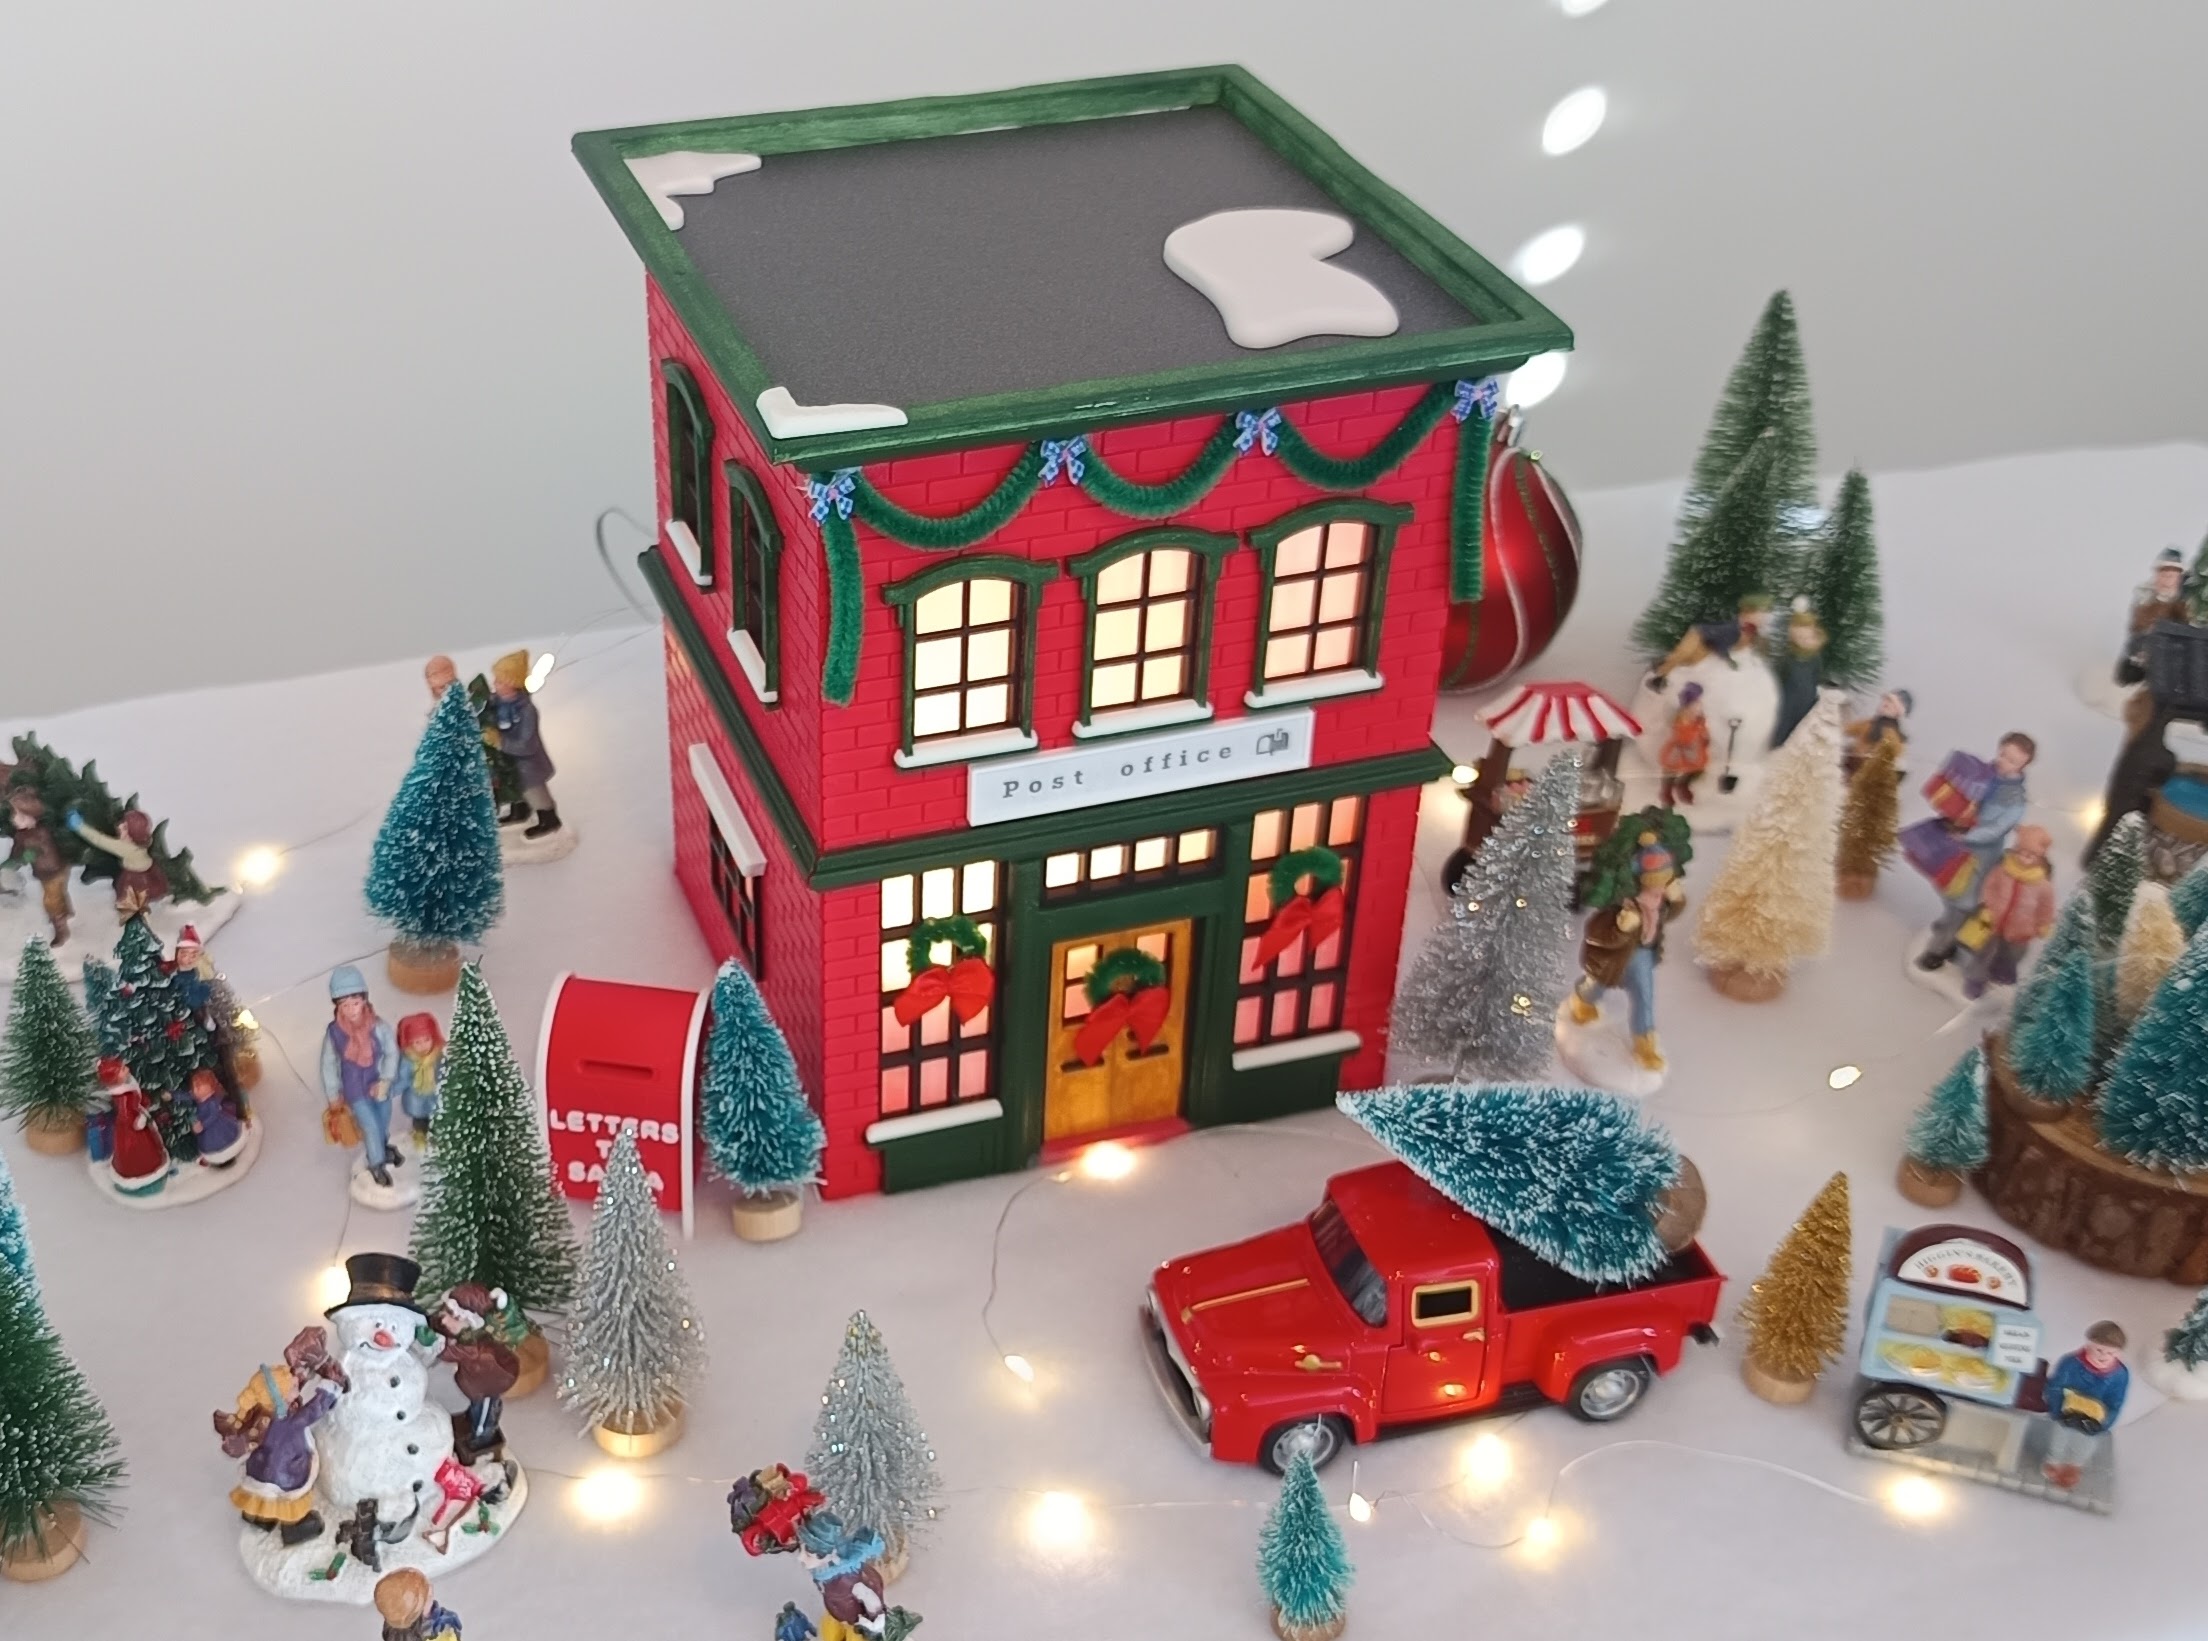
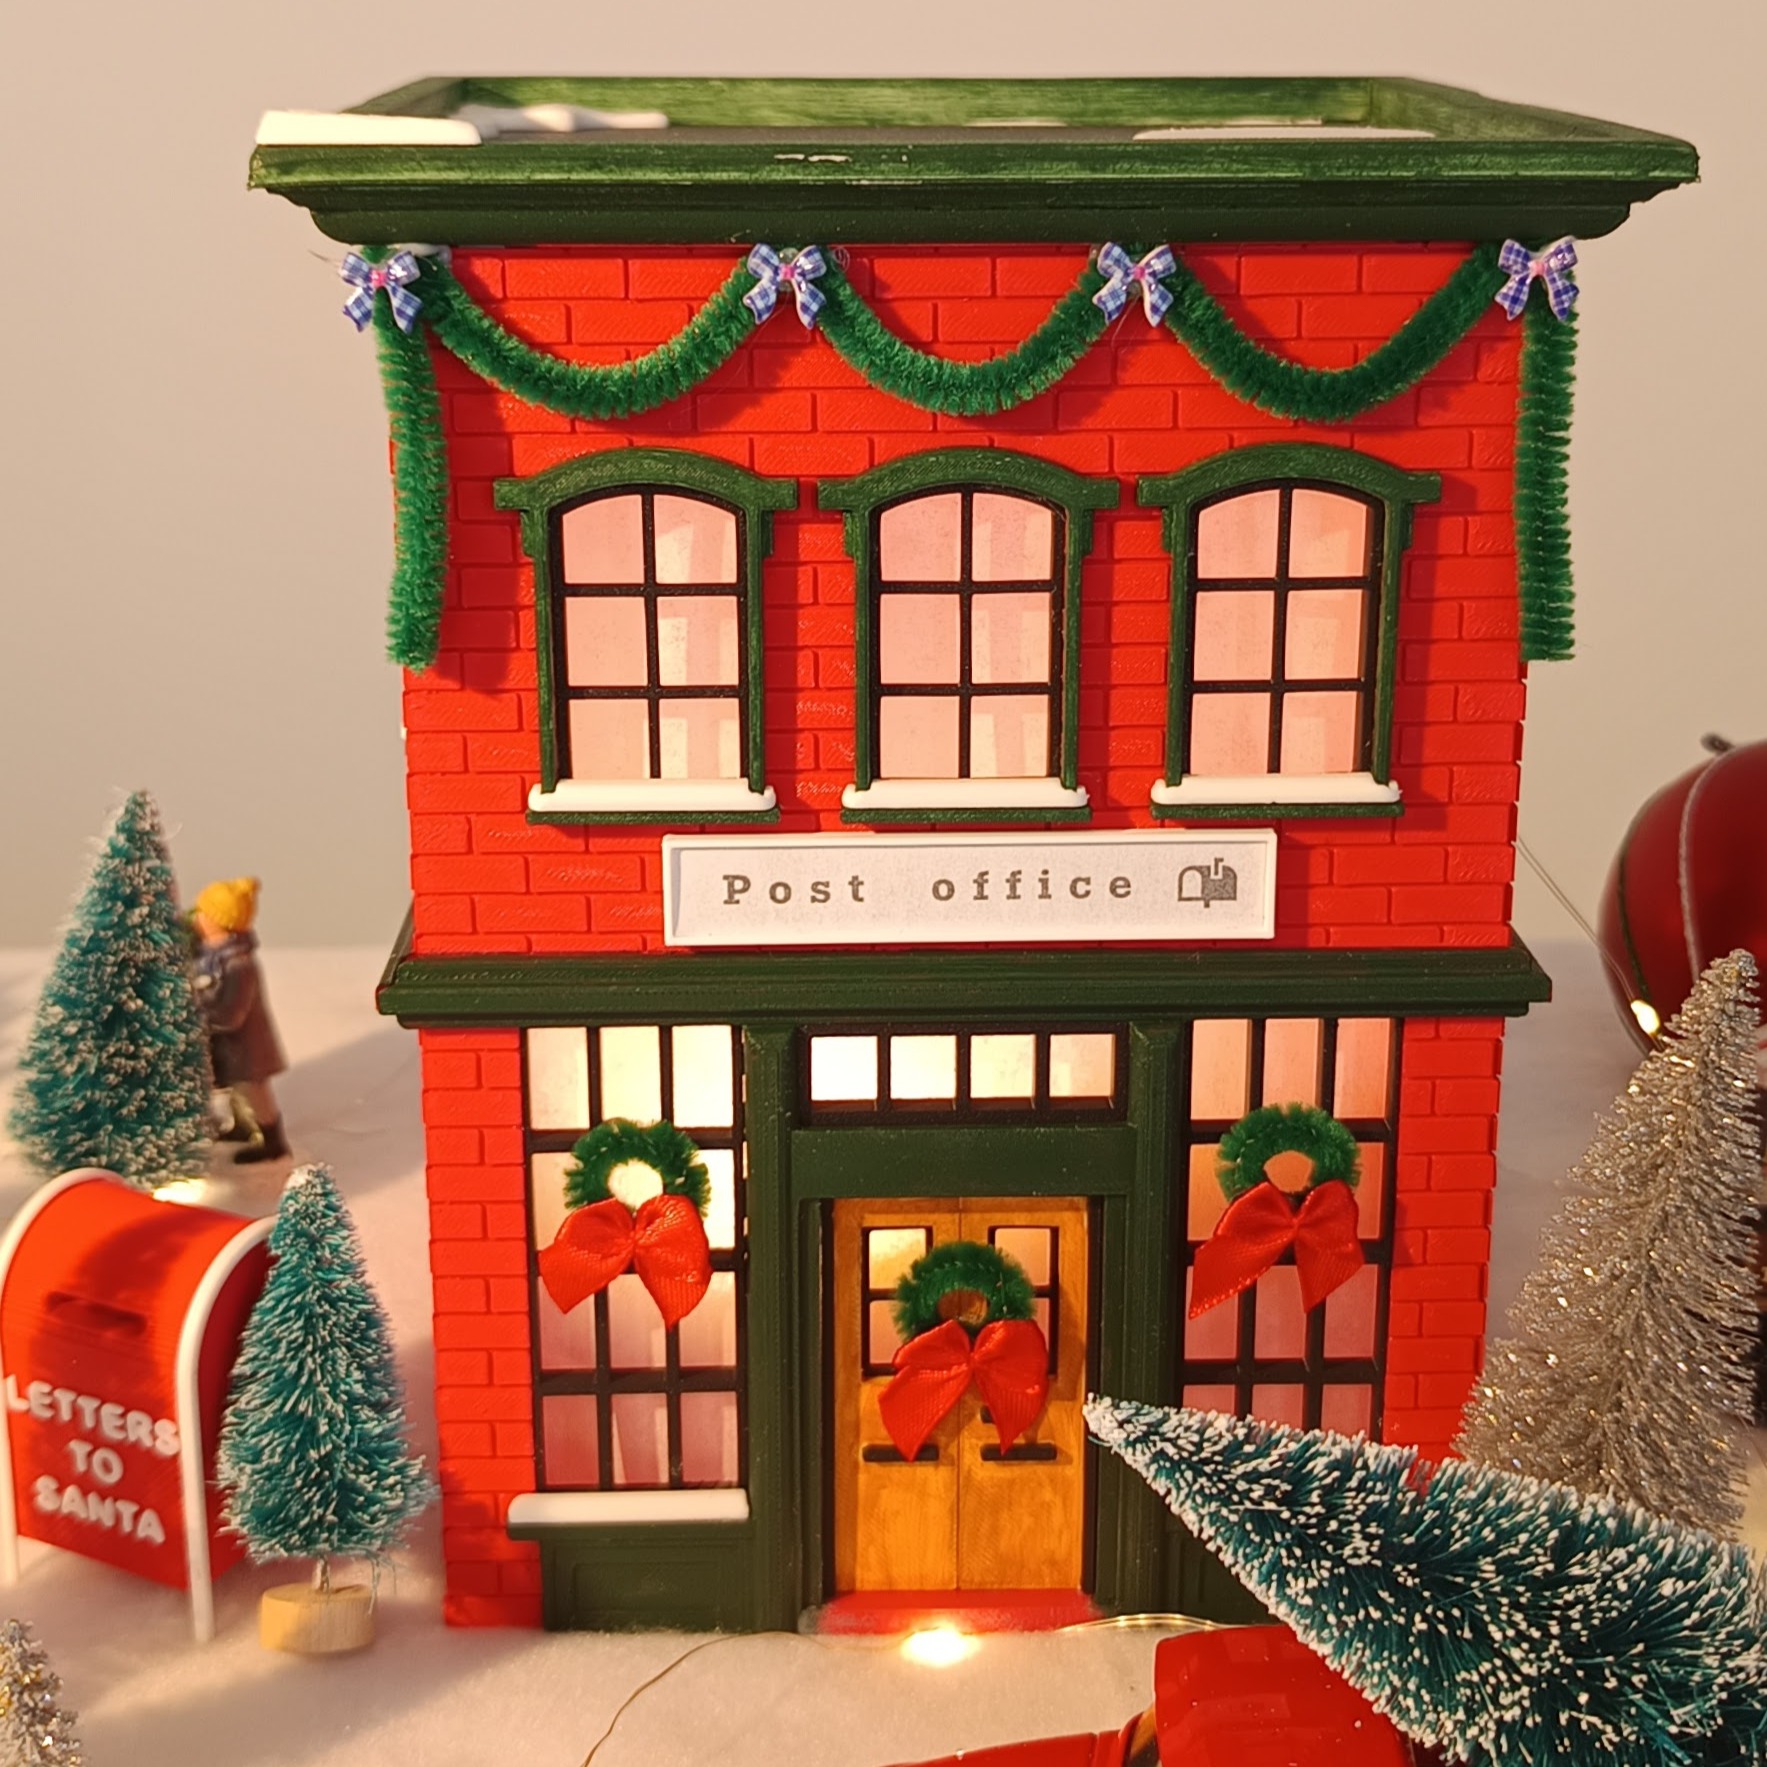
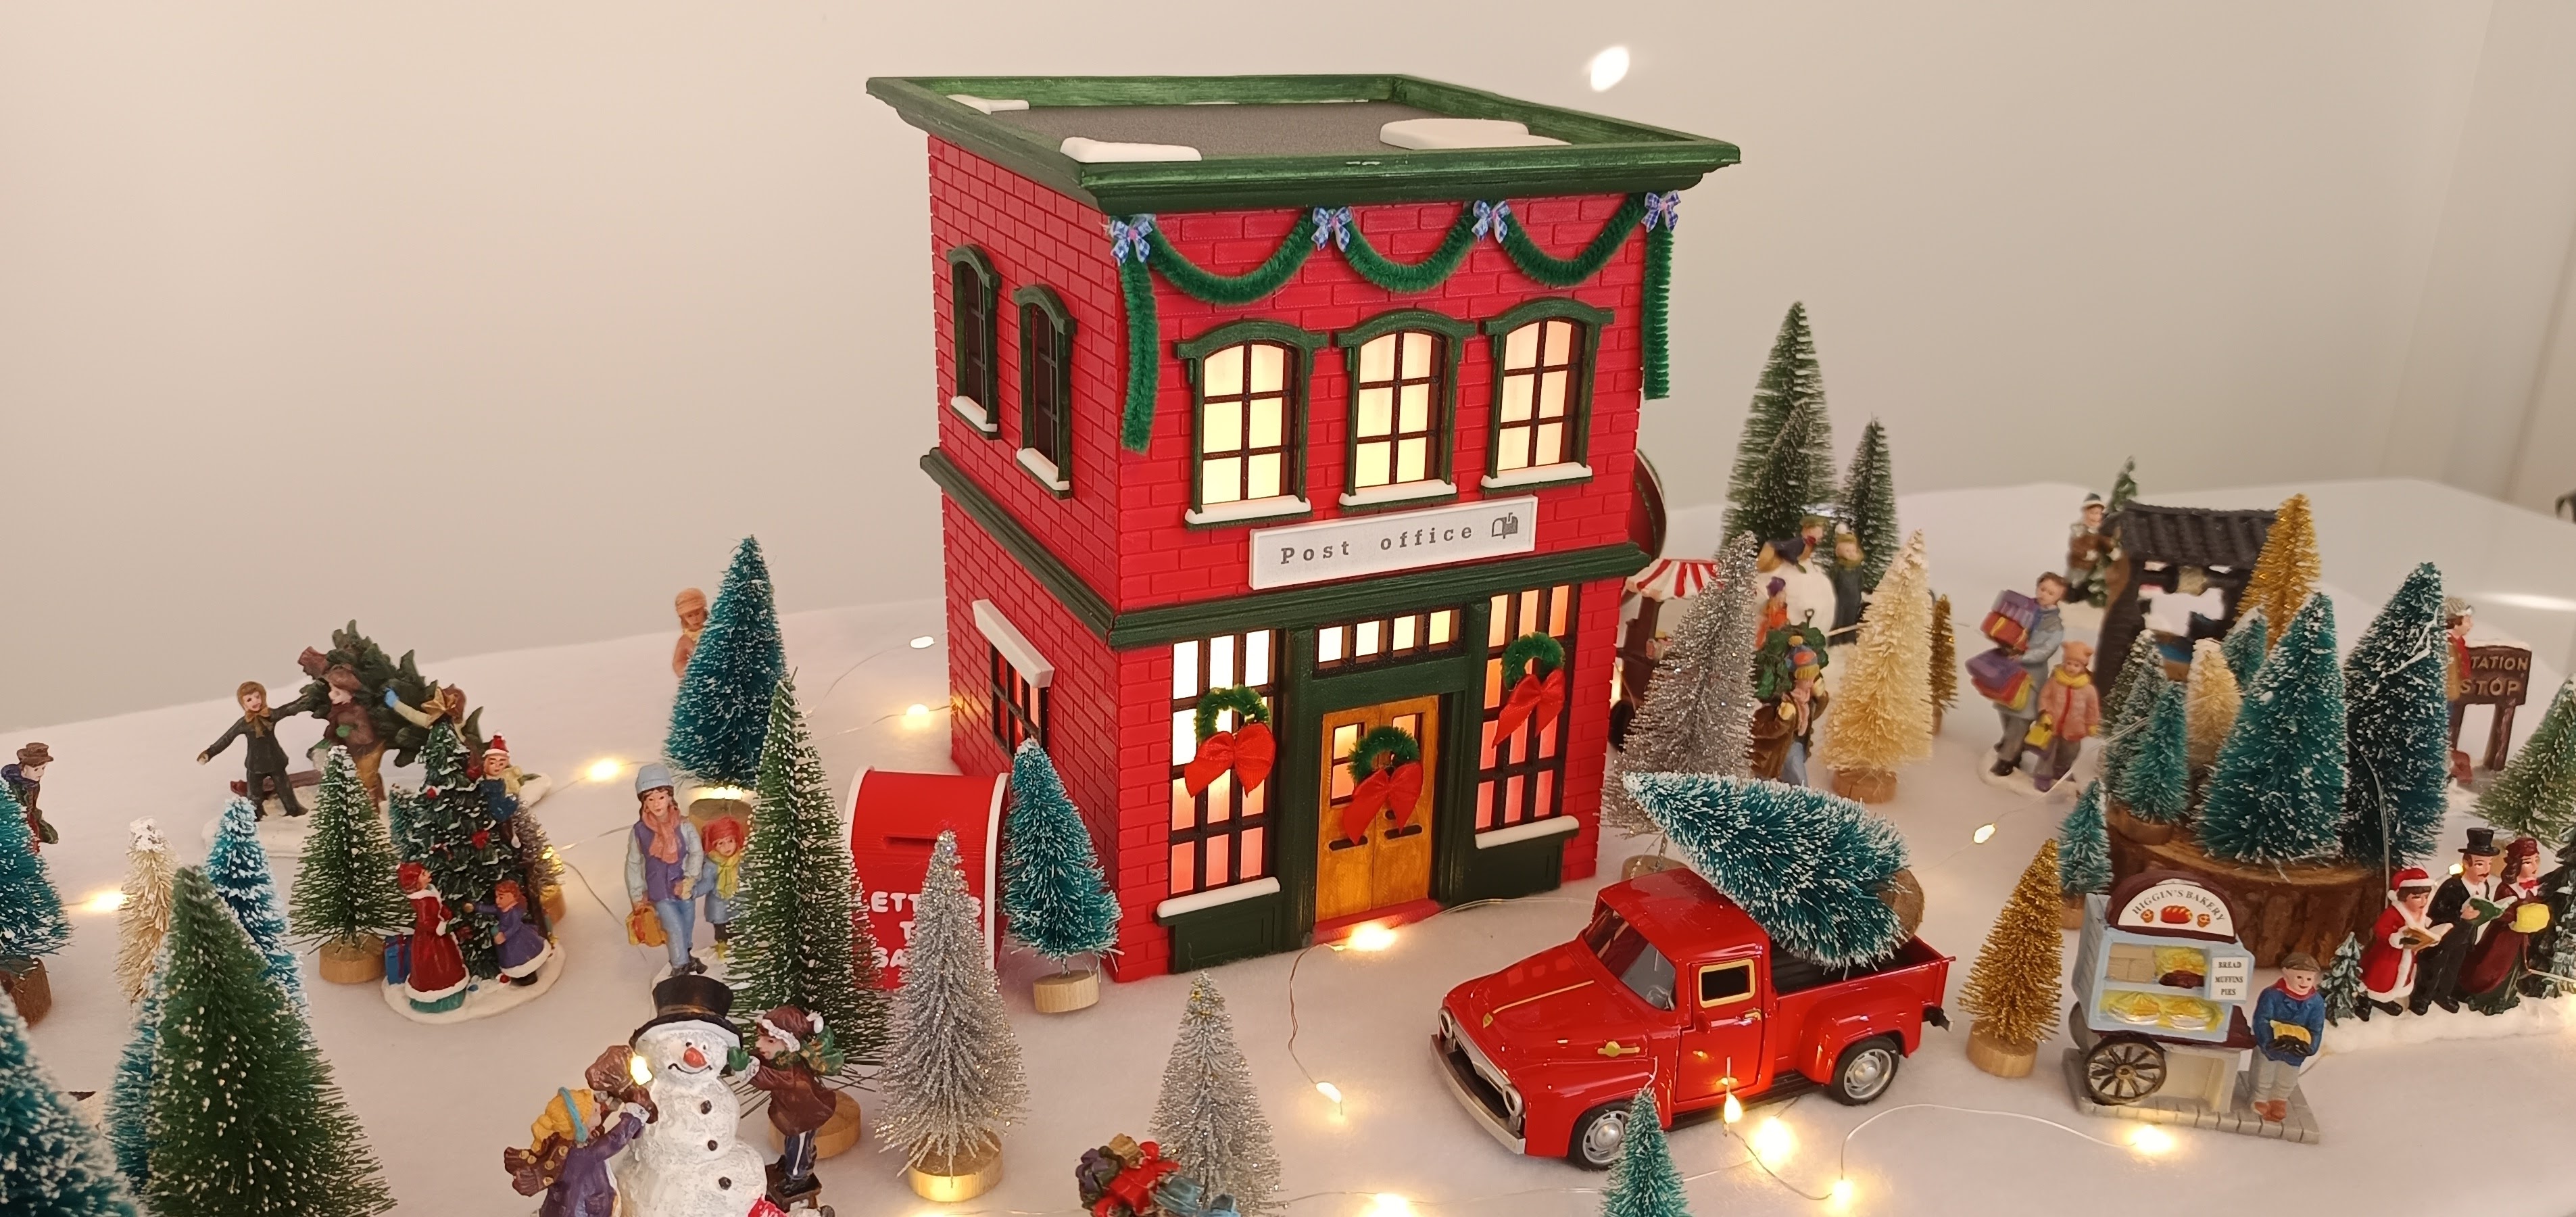

🔧 Assembly Instructions
What You'll Need
- All printed parts (ensure they're fully cooled)
- Glue for plastic models
- Optional: Fine sandpaper (220-400 grit)
- Optional: Primer and paint
General Assembly & Finishing Guidelines
- The entire model can be printed using a single filament color (for example, white). After printing, it is recommended to lightly sand any rough surfaces and remove possible stringing to achieve a smoother finish.
- For a more realistic or customized appearance, the model can be painted using acrylic paints. Spray paint (including graffiti spray) may also be an option, although this has not yet been tested and is therefore used at your own discretion.
- If you prefer a multicolor result, you can print the model using different filaments. The design allows certain parts — such as windows and doors — to be printed separately for this purpose. Alternatively, you can use your slicer's pause function to stop the print at a specific layer, change the filament, and then continue printing in a different color.
Step-by-Step Assembly
- Preparation: Clean up any support material and rough edges with sandpaper
- Windows and other decor: Use plastic glue to attach windows and other decor to walls (let dry). Also glue two parts for the roof

- Base Structure: Start with the back wall (attach two clips at the bottom)
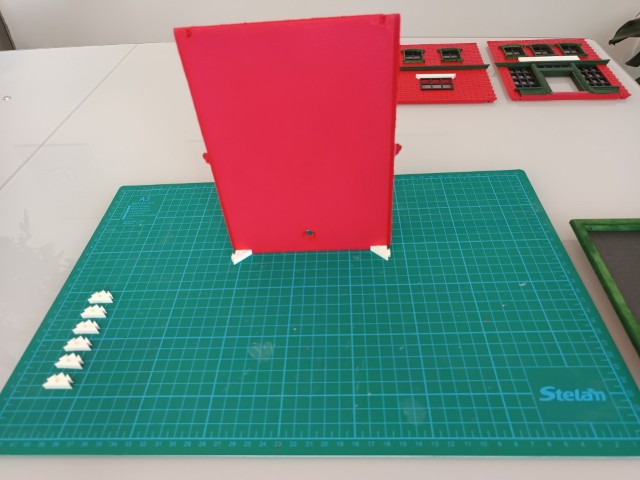 add two sides ...
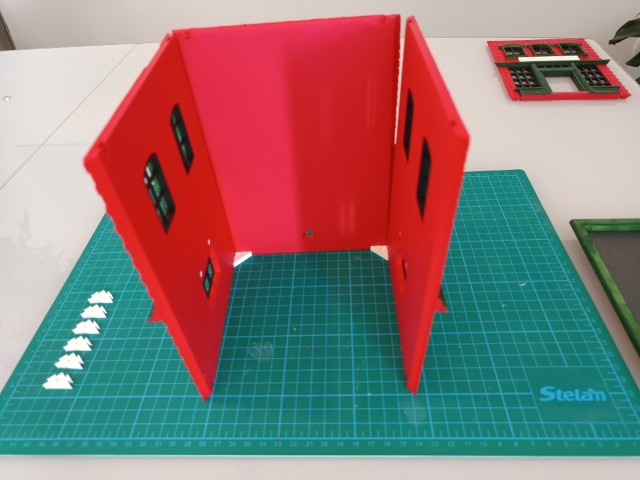 attach clips in the top back (mind the orientation - hole should be up - you'll attach roof soon) and front bottom ...
 slide down the front wall and attach top clips ...

- Door: You should glue door to front wall
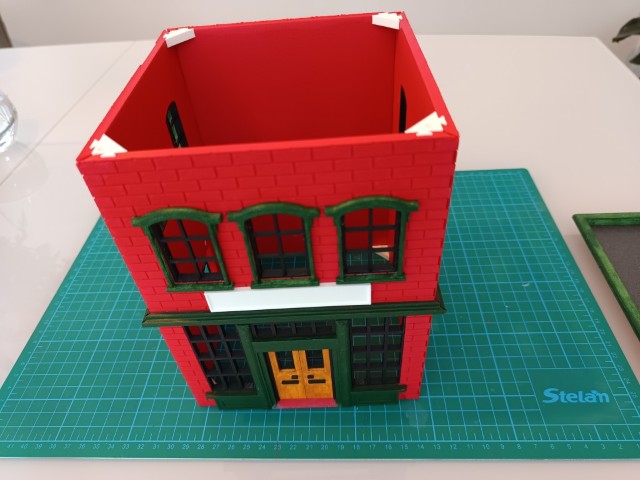
- Roof Installation: Attach roof pieces last, ensuring proper alignment (pins should go in the clips holes)

🖨 Printing Tips
Recommended Settings
- Layer Height: 0.12mm - 0.3mm (I printed with 0.3 with Matte filament)
- Infill: 10-15% for structural strength
- Supports: This model doesn't need supports
- Print Speed: 30-40mm/s for initial layer, then up to 150mm/s. Slow down for final Layers (when printing bricks).
- Wall Count: 2-4 walls for strength
- Temperature: PLA 200-210°C, PETG 230-240°C
Material Recommendations
- PLA: Best choice for detailed Victorian ornaments, easy to paint
- Colors: White, Red, Darkgreen, Brown
- Finish: Consider matte finish filament to reduce layer lines
🎨 Post-Processing & Painting
Special Effects & Details
- This model is hollow, I recommend gluing white baking paper an the inside, especially if you plan on adding lights. It will diffuse light for a warmer effect
- You could use AI to generate image of the Post office interior and then glue it to the inside walls
- Add tiny LED string lights in windows for magical glow
- Apply snow texture to roof peaks and railings using white texture paint
- Add miniature wreaths to doors using tiny dots of green paint
🎄 Ready to Build Your Village?
Get this design and start printing your Post Office today!
€4.99